Enquiry Now

 Contact Us


 Check Out
 +44 20 4571 2395

 PRINCE2® Foundation and Practitioner Training


 Aaron Charlie
 23 Feb 2011
How to Create a Lightsaber Effect in Photoshop
Photoshop Lightsaber Tutorial
Find out how to create your own Photoshop lightsaber with this easy step-by-step tutorial!
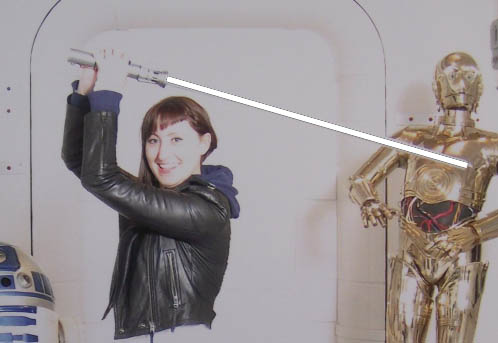
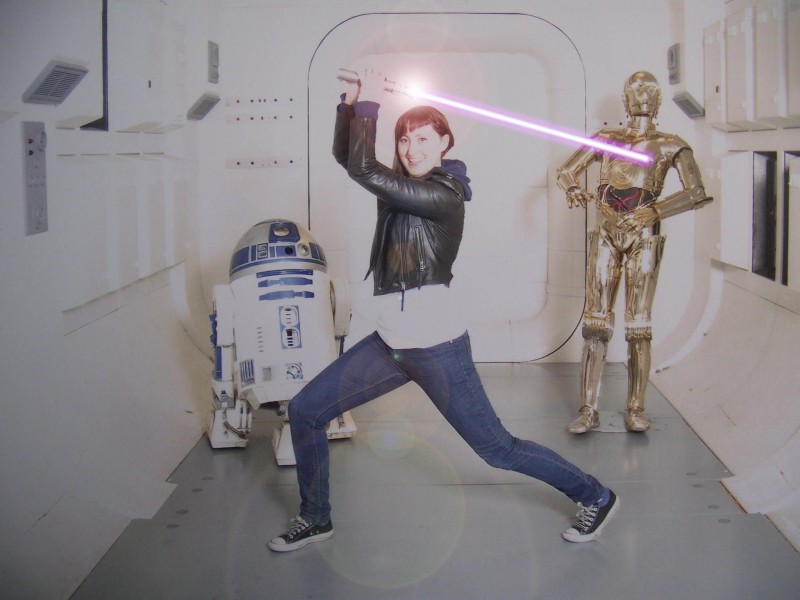
Last weekend my good friend (and self-confessed Sci-Fi fan) Jen went to the London Film Museum, and had this great photo taken of herself brandishing a lightsaber in front of a piece of original Star Wars set. However the image was lacking a little something, which reminded me of a great trick in Photoshop to add a lightsaber effect.
To really get to grips with Photoshop, Silicon Beach Training offer Photoshop Training and Advanced Photoshop Training , as well as InDesign Training in Brighton, Sussex. And for all those programming geeks reading this – did you know that we also now offer JavaScript Training, jQuery Training and Ajax Training too?!
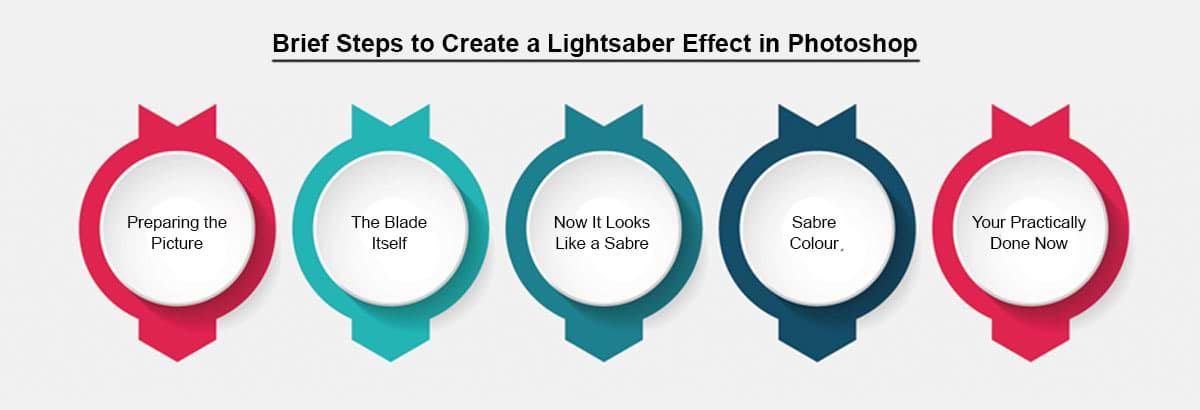
So – here’s how to add a Photoshop lightsaber effect…
How to Create a Lightsaber Effect in Photoshop CS5
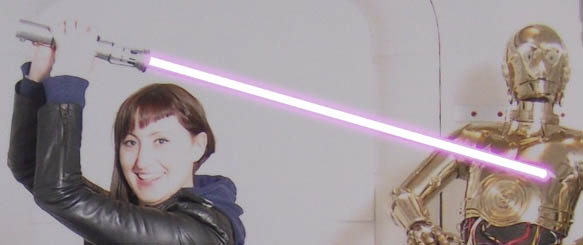
Here’s the original image – as you can see Jen’s got her lightsaber, but it’s just a white stick, which looks rubbish.
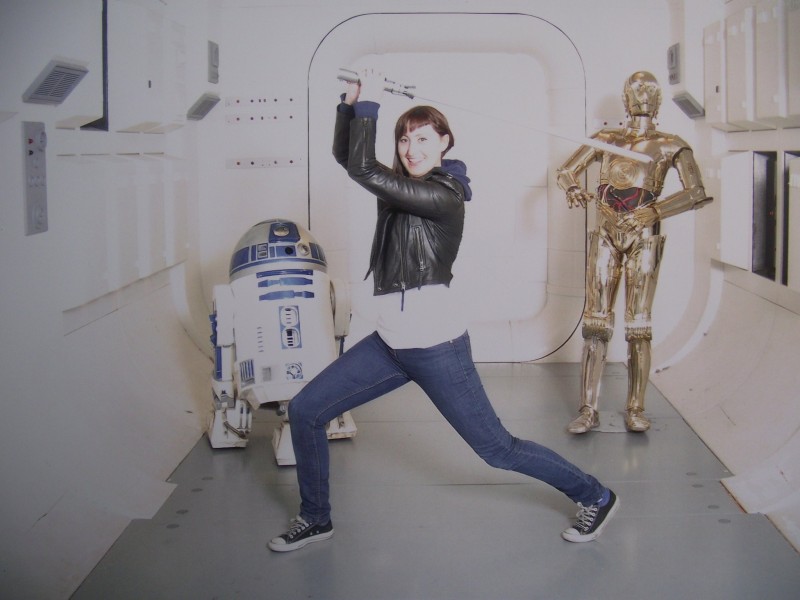
If you want to use this image for the Photoshop tutorial you can download it here – but much better to use your own. If you don’t have a toy light saber it doesn't matter – just strike the pose with something that looks like a light saber handle, and Photoshop can do the rest!!
1) Open your image
2) Create a new layer by selecting Layer > New > Layer. This is the Layer we’ll be drawing the light saber blade on.
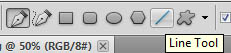
3) Select the line tool. To do that – select the pen tool  in the main tools menu on the left – now select the line tool from the new sub menu at the top.
4) Now click on the “color” box in the top menu, and set the colour to white
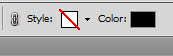

5) By default the line weight is 1px – you’ll need to increase that. For this image about 12px is right – but experiment to see what suits your image – you want this line to be about 75% of the width the final light saber blade will be! Again, this setting is in the top sub menu.
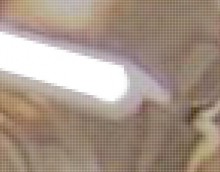
6) Now carefully draw your line over where you want the light saber blade to be. It should look something like this:
7) Now rasterize the shape by selecting Layer > Rasterize > Shape

8) As you can see the end of the blade is a bit square, so we’ll need to round it off. This is fiddly work, so select the magnifying glass tool and zoom in to the end of the blade by clicking on it a few times:

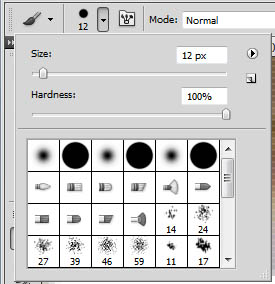
9) Select the brush tool.
10) Now in the menu at the top, set the brush width to the same as you set your line width to earlier (12px in this case), and the hardness to 100%.
11) Now carefully position the brush at the end of the blade, and draw on the rounded end:
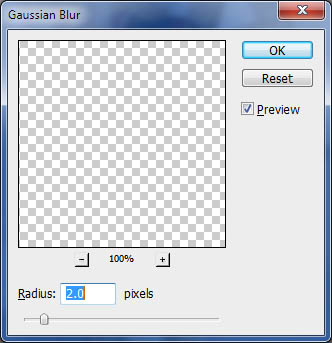
That’s better – but it’s still a very hard line so we need to soften it a bit... We'll use the Gaussian Blur filter for that
12) Select Filter > Blur > Gaussian Blur. Now set the radius to 2.0 pixels and hit OK.
Right – we’re getting there – but the light saber still has no colour...
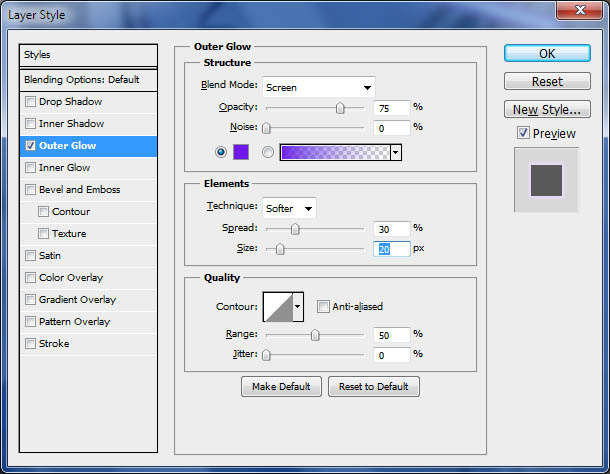
13) In the layers palette (if you can’t see that, go to Window > Layers) – right click (or cmd+click on a mac) on the layer you created (“Shape 1”) and select Blending Options.
14) In the new dialog box that opens, put a check in “Outer Glow”. In the Outer Glow settings, click on the colour box – its set to yellow by default, and pick a suitable colour for your light saber. Jen loves Samuel L Jackson, so she gets a Purple one! Then set the spread to about 30%, and the size to about 20px - however you’ll see a preview on the image, so fiddle until you’re happy with it.
Now we have something that looks like – this – much better, and nearly there. A couple of finishing touches and we’re done.
15) Soften up the edge of the glow by adding another Gaussian Blur – so select Filter > Blur > Gaussian Blur again, and a pixel radius of about 1px should be fine this time.
It now looks a bit messy where the light saber blade meets the hilt, so we’re going to hide that (and add a super cool effect in to the bargain) by adding a lens flare over the top.
16) Flatten the image to combine the layers by selecting Layer > Flatten Image
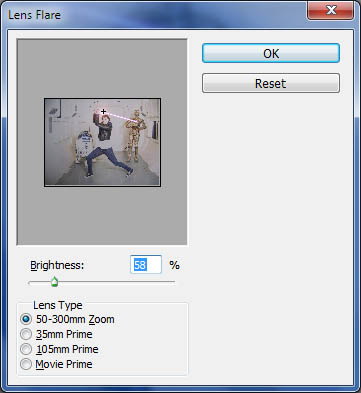
17) To add the Lens Flare, select Filter > Render > Lens Flare
This opens up a little dialog box where you can position where the flare appears and set the options. Annoyingly, you can’t zoom in so it can be a little fiddly, so it might take a few attempts to get the flare in exactly the right place (undo using ctrl+z if it's in the wrong place!). I found that the 50-300m zoom at a brightness of about 55% looked best, but use whatever looks best on your image:
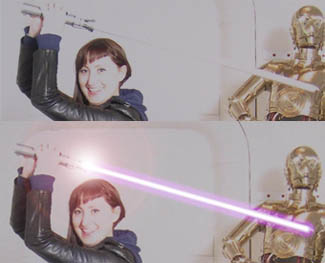
FINISHED!! - You should end up with something this - Click on the image to see / download the full-size version:
Posted under:
 Need Any Help?
Recent Blogs