Enquiry Now

 Contact Us


 Check Out
 +44 20 4571 2395

 PRINCE2® Foundation and Practitioner Training


 Aaron Charlie
 6 Jul 2012
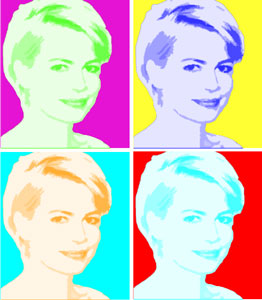
Turn Your Photos Into Pop Art With Photoshop - Tutorial
Turning simple photos into Warhol-style Pop Art is a great way to impress people with your Photoshop skills. If you're fairly new to Photoshop, you'll find that following this tutorial helps you learn and understand more about cut-outs, layers, groups, colours and scaling.
Coming on our Photoshop course will teach you these kinds of techniques, along with useful keyboard shortcuts and what to do when things aren't going to plan! We also offer Advanced Photoshop training and courses in InDesign and Illustrator.
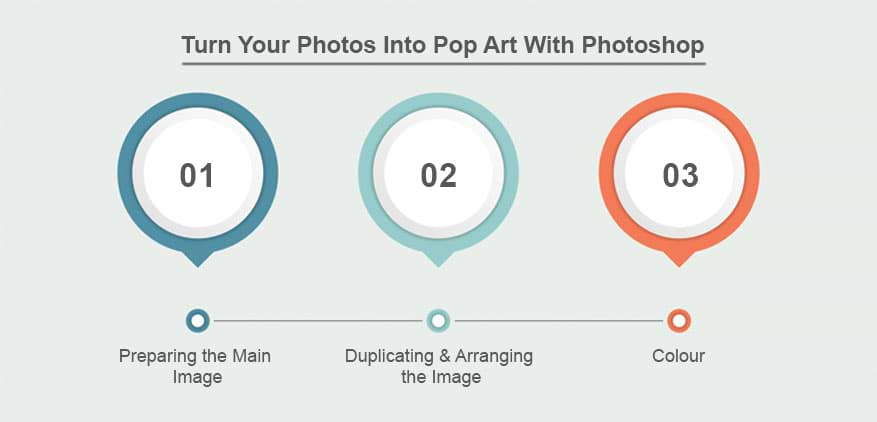
There are 3 main tasks when turning a photo into Pop Art: preparing the main image; duplicating and arranging it; and adding colour.
Preparing the Main Image
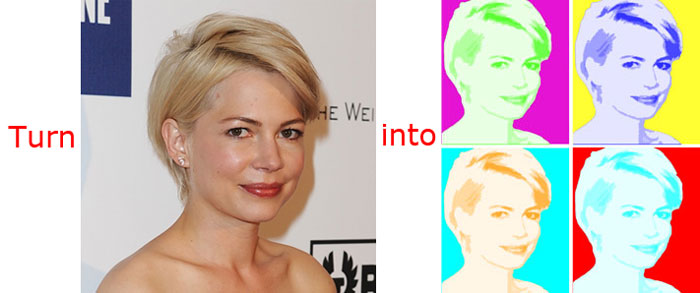
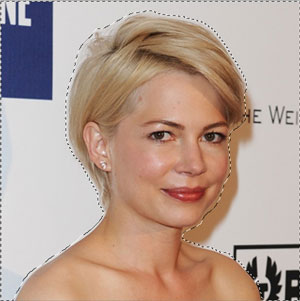
Step 1: Choose an image to turn into Pop Art and open it in Photoshop. I've chosen Michelle Williams - she seemed the obvious choice, having recently played Warhol favourite Marilyn Monroe!
Step 2: Duplicate the layer by right clicking on it as 'Background'.
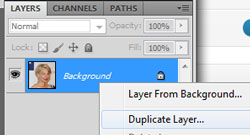
Give this new layer a name, e.g. Portrait.
Step 3: Delete the background layer (just drag it into the bin at the very bottom right under 'Layers') and make a new layer.
Drag this layer to below the main image
Step 4: Select this new layer and colour it white by using the Paint Bucket tool: Make sure white is selected as foreground colour, select the Paint Bucket tool & click into the canvas.
Rename this layer 'Background' or similar.
Step 5: Select the layer that contains your photo - now it's time to cut out the part of the image you want to use. Even if you have a white background, you'll need to cut it out - this is important when it comes to adding colour later on.
I like to use the Lassoo tool for cutting out images. Don't worry too much about accuracy of the cut out - it's Pop Art after all! Just make sure that any strong colours still appearing from the background are kept to a minimum.
Invert the selection if necessary, you want the background to be selected. Hit delete and the background will be gone!
Use Ctrl+D to deselect the image.
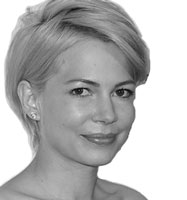
Step 6: Desaturate the photo using Ctrl + Shift + U.
Step 7: Crop your image - quirky/off centre selections work well for Pop Art. Just make sure that the image is still taking up most of the frame.
Step 8: Brightness and contrast: Go to Image > Adjustments > Brightness/Contrast and play around with the sliders.
Step 9: Then go to Filter > Artistic > Cutout and, again, experiment with the sliders to see what effect it has on the image.
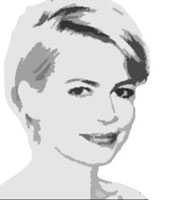
Repeat 8 and 9 as needed to get a more extreme result each time. You can also adjust the image levels (ctrl + L). I find that having white, black and a couple of shades of grey tones is best.
Duplicating and Arranging the Image
Step 10: Do Ctrl + N to open a new canvas. The size and number of pixels you choose will depend on what you want to do with the finished image.
Go to the drop-down for Arrange Documents and choose '2 Up'. Select the one with your image and drag the layer onto the canvas.
Go back to the Arrange Documents drop-down and go back to the
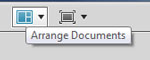
'Consolidate All' option to see just one image.
Step 11: Create a new layer group and drag your image layer into this group.
Create a new layer and make sure this is in the group, below your photo layer.
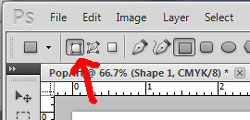
With this new layer selected, select the Rectangle Tool and draw a rectangle
around the image (make sure you have Shape Layers selected - see right).
Step 12: Ignoring the image for now, drag a guide rule from each side, to
split the canvas into 4 equal parts (these should snap into place at the centre point).
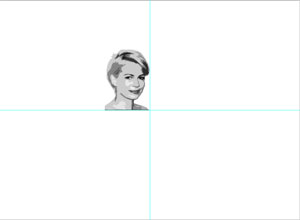
Step 13: Click on Group 1, go to Edit > Transform > Scale. Hold down shift
(this will retain proportions) and scale the image down if needed to fit into a quarter of the canvas.
Move the image so the bottom right corner is in line with the middle of the canvas. Hit Enter to finish scaling/moving.
Step 14: Right click on Group 1, choose 'Duplicate Group' and rename as Group 2. Create 2 more duplicates, name them Group 3 and Group 4.
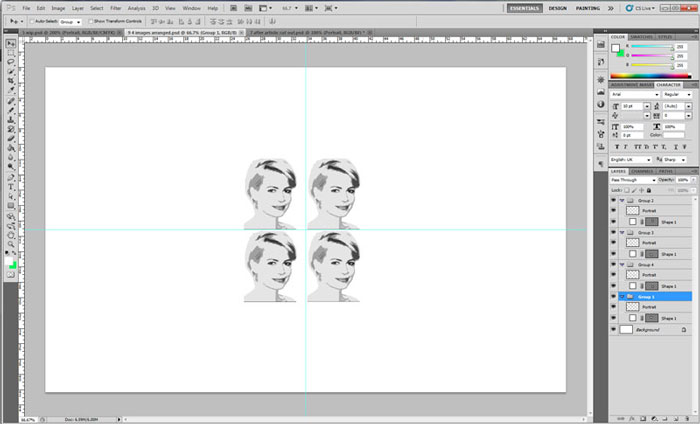
Step 15: Select Group 2 and select the Move Tool. Hold down shift and move so the image fits beside the first. Repeat for Group 3. With the 4th, you'll need to move it once to the right, release, and move again below. This is because holding shift allow you to only move the image horizontally or vertically.
If you like, you can separate the images slightly by selecting each Group in turn and using the Move Tool and the arrow keys on your keyboard.
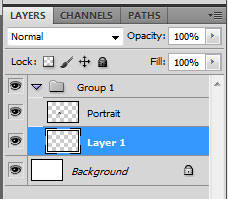
Your image and Layers should now look as below:
Colour
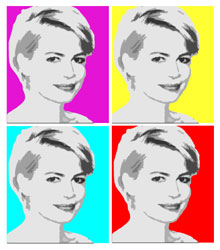
Step 16: For the background colour: Double click the layer thumbnail within Group 1 (NB not the Group thumbnail) and choose a suitably bright colour! Repeat for the other 4 layers.
Step 17: Select Group 1 and create a new layer. Position this between the 2 existing layers and rename it 'foreground' or similar. Within this group, select the layer with your image. Go to Select > Load Selection
Step 18: Select the 'foreground' layer, click the Paint Bucket tool and choose a contrasting vibrant colour. Fill the selection with this - don't worry that your picture won't immediately change.
Step 19: Click back to the photo layer and change the mode drop-down under Layers to 'Screen'.
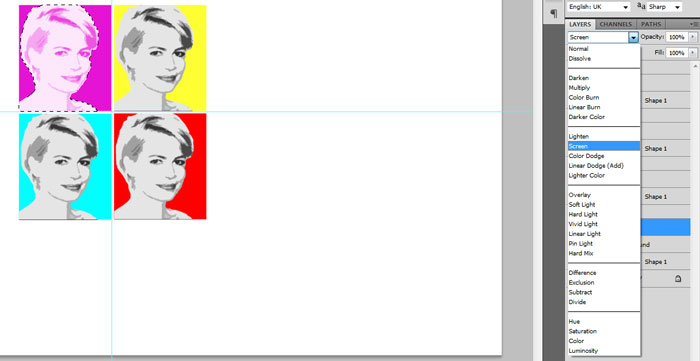
Now you'll see your image with the new colours! If needed, you can then go to Image > Adjustments > Hue/Saturation (shortcut Ctrl+U) and play with the saturation again.
Repeat steps 17-19 for the other groups and you're done!
Posted under:
 Need Any Help?
Recent Blogs